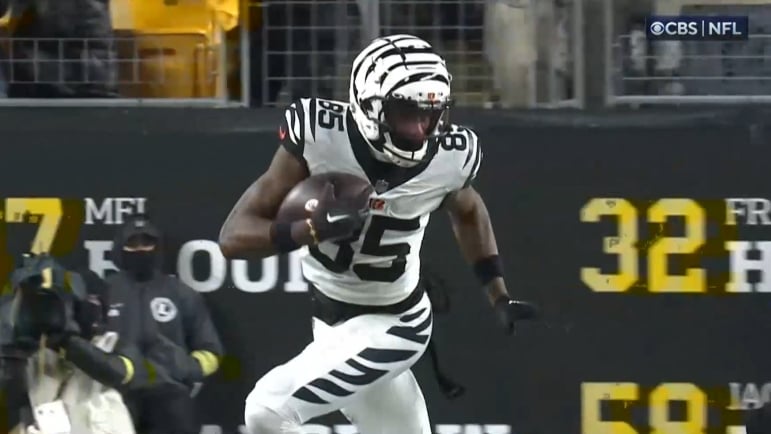
Tee Higgins didn’t need much time to dominate the Pittsburgh Steelers Sunday. On the surface, the numbers look bad enough, with Higgins putting up nine catches for 148 yards. But he did all his damage across two quarters, seeing all his targets and receptions in the second and third frames of this game.
Pittsburgh had no answer for him. Higgins worked over all three of the Steelers’ top corners and SS Terrell Edmunds with Levi Wallace crediting the Bengals’ scheme after the game for freeing Higgins up.
“I think they do a great job of scheming him to get open,” Wallace said postgame. “Not giving us the same looks, different routes when they do show the same looks.
He’s right. Let’s apply it to the tape. Higgins moved all over the Bengals’ formation to consistently exploit new and different matchups and win time and time again.
Higgins’ nine catches came from four different alignments. As the #1 (most outside receiver), the #2 (inside of the #1/outside receiver), the #3 (third player from #1) and bunch sets. I put together a breakdown of receptions and yards from each spot.
| Alignment | Catches/Yards |
|---|---|
| #1 | 3/41 |
| #2 | 3/38 |
| #3 | 1/24 |
| Bunch | 2/45 |
To the tape. I’ve broken down all of Higgins’ grabs by alignment. We’ll work outside-in and then finish up with bunch sets. As the #1, the furthermost outside receiver, Higgins worked on Cam Sutton, running him off with speed vertically and boxing him out underneath while catching a slant working to the open window in zone coverage. Three clips below:
Higgins – #1 Alignment
How about as the #2? A slot receiver adjacent to #1. Here, he did his damage on CB Arthur Maulet, winning with size and physicality with Maulet unable to do anything but tackle the catch and even then, often having to drag him down and allow more yards in the process. Here, they used a curl route and two dig routes to beat Maulet’s outside leverage and box him out like a power forward.
Higgins – #2 Alignment
Same as #3, though Higgins had just one catch here. But it was his first and a big one, a third down conversion for 24 yards. 3×1 formation with the TE “nub” backside, creating plenty of space for Higgins on this bender/over route to beat Terrell Edmunds’ outside leverage (shaded there with a single high safety) and a nice throw from QB Joe Burrow.
Higgins – #3 Alignment
Finally, bunch sets. 3×1 bunch looks to create free releases and force the Steelers to distribute. In the first clip you’ll see, Higgins gets a free release thanks to the “point man,” the WR on the line of scrimmage, taking the CB with RCB Cam Sutton playing off coverage. Run the curl and make the easy grab with four yards of YAC.
On the second, Higgins has a nice stem off the line, threatening outside to get Levi Wallace to open his hips while stemming back inside to gain leverage and stack. Burrow leads him to the sideline to make a nice grab for 33 yards, setting up a Trenton Irwin touchdown.
Higgins Alignment – Bunch
Without star receiver Ja’Marr Chase, the Bengals had to work a little bit harder to create big plays. But they did a great job of moving their #1 receiver all over the field. The Steelers never knew where to expect him and never got comfortable defending him. Higgins ran the whole route tree, played all over the field, and the Bengals took advantage of the size mismatches he creates.
Those are things the Steelers need to take note of. To their credit, they’ve done a bit more in recent weeks and had a couple of similar solid calls Sunday, like using bunch on George Pickens’ touchdown. But for guys like Diontae Johnson, in the middle of a bitter year, Pittsburgh has to do a better job of scheming their guys open. If the Bengals are committed to doing it, with far better personnel, then the Steelers certainly recognize its value.