A closer look at the three sacks the Pittsburgh Steelers allowed over the weekend against the Cincinnati Bengals.
1. 1st and 10, 15:00 3rd. 13 personnel. Five block vs four rush.
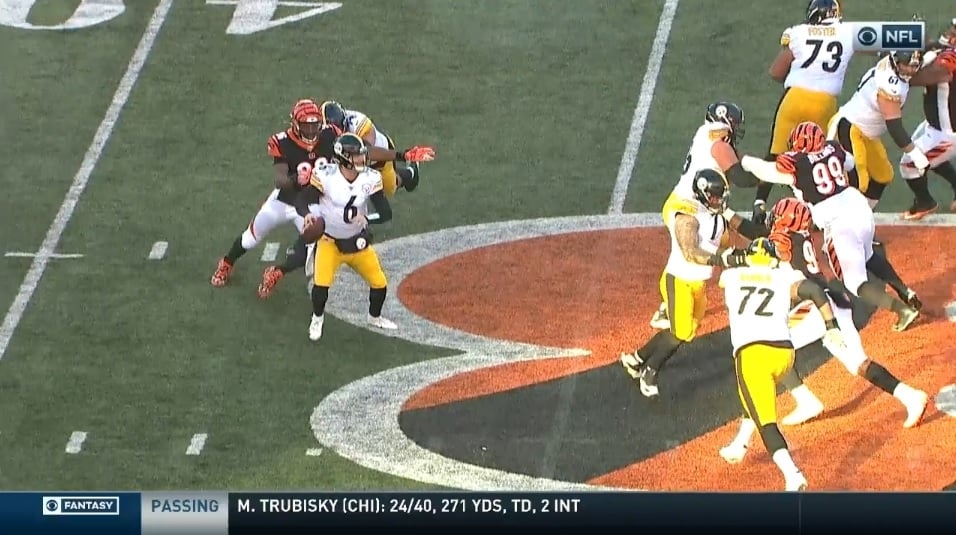
First one of the game. All three sacks came out of heavy personnel, which is highly unusual, and all in the second half. Steelers bringing in all the big guys for this play and predictably, nothing opens up downfield. Zach Banner actually ran a route, you see him on the left side of your screen, which genuinely made me smile. I doubt Mason Rudolph was as enthused.
BJ Finney gets overpowered by the bigger and stronger Andrew Billings, run into the pocket and Rudolph. But his QB has to help out here a bit. It’s ok to, you know, move around back there. Slide left, slide right, both are definitely options. Rudolph doesn’t get off his spot and only tries to at the least second as Billings reaches out to snare him, trying to spin away for some reason, which just takes his eyes off the field.
Pressure was there but the sack should’ve been avoidable. Felt like Rudolph was a deer in the headlights. Putting half the blame on Finney for the pressure and half on Rudolph for not doing anything about it, despite having options.
Blame: Half on Finney, half on Rudolph
2. 2nd and 8, 12:44 4th. 12 personnel. Five block vs four rush.
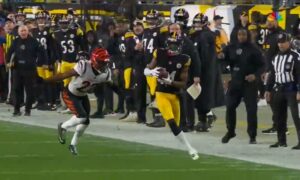
Now with Devlin Hodges checking into the game. One of the several examples where Hodges bailed on a clean pocket and got into trouble. Rolls right on the slightest hint of pressure. Ends up missing an open Deon Cain in the middle of the field, though Cain probably shouldn’t have stopped mid-route into a defender. Still,if Hodges hangs in there, he hits him for at least a few yards.

Rolling right takes away half the field, invites more pressure, your linemen are now useless, and Hodges scampers out of bounds for a loss of one. Not a traditional sack but Hodges has to remain in the pocket or at least, check the ball away at the very end.
Blame: Devlin Hodges
3. 1st and 10, 7:18 4th. 12 personnel. Six block vs four rush.
Playaction. Seven step drop out of heavy personnel, which is a bit of an odd decision from Randy Fichtner. On the left side, Alejandro Villanueva tries his patented chop on RDE Carlos Dunlap but misses. Allows Dunlap to dip and get past, which even though Villanueva is tall, so is Dunlap and that shouldn’t happen, and Villy can’t recover.
On the other hand, while Hodges gets proper depth and doesn’t fall backwards here like on other players, he could’ve at least attempted to avoid the sack by feeling the rush and hitching up. On his blindside so that’s more difficult but with his initial read not being there, it’s smart to begin working up in the pocket. After criticizing Rudolph for his lack of movement in the first clip, it’s only fair and consistent to talk about that element with Hodges here too.
Blame: Half on Villanueva, half on Hodges
Sack Counter (Game)
Devlin Hodges: 1.5
Alejandro Villanueva: 0.5
BJ Finney: 0,5
Sack Counter (Season)
Mason Rudolph: 3
Alejandro Villanueva: 2.5
Matt Feiler: 2
Ramon Foster: 1.5
Devlin Hodges: 1.5
Wide Receivers: 1.5
Coverage: 1
Chukwuma Okorafor: 1
David DeCastro: 1
Randy Fichtner: 0.5
Mike Tomlin: 0.5
Maurkice Pouncey: 0.5
BJ Finney: 0.5
Defensive Scheme: 0.5
Penalty Counter (Game)
None.
Penalty Counter (Season)
Alejandro Villanueva: 5
Maurkice Pouncey: 4
David DeCastro: 3
Zach Banner: 2
BJ Finney: 1
Matt Feiler: 2
Chukwuma Okorafor: 1